Blog

Setup WordPress on AWS Lightsail

This post will detail my notes from the steps I used for a new project to get WordPress up and running on AWS Lightsail.

References:

Purchase the Domain Name using Route53

Every great project must start with a new domain name… I will use AWS Route53.

  1. Log into the AWS Console.
  2. Navigate to the Route 53 service.
  3. Check for and Register domain.
  1. Find the perfect domain name, check availability, and purchase.
  2. It can take a bit for the request to be processed, up to 3 days, but normally it is fairly quick. Be sure to confirm the email, which validates your email address.
  3. Now that you have your new domain name, you are fully committed to completing the project!

Deploy the Lightsail Instance

  1. On the AWS console, navigate to the Lightsail service.
  2. Click Create Instance
  3. Select defaults platform: Linux/Unix, and blueprint: WordPress
    • This will install the WordPress Certified by Bitnami and Automattic 5.9.2-3 (at the time of this post) configuration.
  4. Change SSH key pair, or use the default suggested.
  5. Choose the instance plan. The smallest is sufficient for a lightly used site ($3.50 / month, 512 MB, 1 vCPU, 20 GB SSD, 1 TB Transfer).
  6. Identify your instance: Select an instance name
  7. Add any tags if desired.
  8. Click Create instance.

Create a Static IP

  1. Select the option to Add a Static IP, otherwise your public IP address will change when the instance is stopped / started.
  2. Attach the Static IP to your new instance.

Point Domain Name to the Static IP

  1. In Route 53, select the hosted zone for your new domain name.
  2. Click Create record.
    1. Record name – add a www prefix, for example, if desired.
    2. Record type – A record (default)
    3. Value – paste in the public IP address for your Elastic IP
    4. TTL seconds – 300 (default)
    5. Routing policy – Simple Routing (default)
    6. Click Create record.
  3. Create additional A records for other prefixes, for example: www or blog, if needed.
  4. It will take a moment for the records to propagate and become active.

Connect to your Instance

  1. Connect to your instance using ssh with the key saved earlier, or use the console to connect. The user name is bitnami. The example below is connecting from a linux bash shell.
chmod 400 your-lightsail-key.pem
ssh -i your-lightsail-key.pem bitnami@your-static-ip
  1. When first logging in, a message was displayed that locales were not installed.
sudo apt-get install locales-all

Set up Encryption

We will be using Let’s Encrypt to serve your website using HTTPS.

sudo /opt/bintami/bncert-tool

Adjustments to wp-config.php

sudo vi /opt/bitnami/wp-config.php

#Change the WP_SITEURL and WP_HOME to reflect your domain name with https.

Adjustments to php.ini

sudo vi /opt/bitnami/php/etc/php.ini

# Change the:
# upload_max_filesize = 150M
# post_max_size = 150M

# Increase (if desired...
# I left it at the default 30 without any issue so far)
# max_execution_time = 300

Get the bitnami user password

cd
cat bitnami_application_password

Sign in to your site

  1. Open a browser tab to your domain-name, you should now connect to your site, and see the WordPress login screen.
  2. Login using the username: user, password: bitnami_application_password obtained above.

Create a Snapshot of your site

  1. Return to the AWS Lightsail console
  2. Select the new instance
  3. Select the Snapshots tab.
  4. Click + Create snapshot, provide a name, click Create.
  5. While in the snapshots page, slide the switch to enable Automatic snapshots, if desired.

Complete WordPress Configuration

  1. Return to your website on your browser.
  2. If desired, add a new username with Administration rights, login with it to continue your work (the bitnami provided user can then be removed).
  3. Complete the WordPress configuration as normal. For example, configure themes, pages, posts, appearance, etc.

Good luck! I found the references at the top of this post to be helpful.

Quick PHP Variable Substitution Example

Here is a quick example of PHP variable substitution:

<?php echo 2 + 2;
  $myname = 'Perry';
?>
		
<h1>This page is all about <?php echo $myname ?></h1>
<?php echo 5 * 5 ?>
<h2>All About <?php echo $myname ?></h2>

The above code snippet assigns ‘Perry’ to the variable $myname, and then uses that variable in the h1 and h2 heading lines.

Basic express.js Development Server Setup

To set up a server using express.js, add the following code to src/index.js:

// index.js
// This is the main entry point of our application

const express = require('express');
const app = express();
const port = process.env.PORT || 4000;

app.get('/', (req, res) => res.send('Hello World!!!'));

app.listen(port, () =>
  console.log(`Server running at http://localhost:${port}`)
);

Start the server, and listen on port 4000, with this command:

node src/index.js

You can now browse to http://localhost:4000, to see Hello World!!!

Any change to the code, will require a restart to the server, and a browser refresh.

To automate this, add the following to your package.json:

"dev": "nodemon src/index.js",

You can now use node to monitor for any changes, with this command:

npm run dev

How to Update npm

Node Package Manager (npm) always seems to have an update available. Fortunately, it’s quick and easy to update.

Display the current npm version, update npm, and check the version again:

npm --version
npm install -g npm
npm --version

Here’s the link to the official npm docs for the update.

You can also download the latest node.js if needed here. It’s recommended to use the LTS version, which has been tested with npm.

How to Install MongoDB

Thanks to my local library, and my kindle, I recently borrowed the O’Reilly e-book “JavaScript Everywhere“, by Adam D. Scott. “Building Cross-Platform Applications with GraphQL, React, React Native, and Electron”… should be interesting, only 344 pages. Seems like quite a bit to cover, we’ll see.

One of the first requirements early in the book, getting MongoDB up and running. MongoDB is used because it stores your data in JSON format.

Installing the MongoDB community edition on your Window’s laptop is fairly straightforward using these steps, although it does take a few minutes.

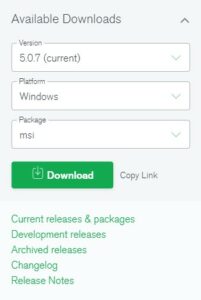
MongoDB Download
MongoDB Download
  1. Search for MongoDB download center. Select the link for the MongoDB Community Download.
  2. Click the Download button on the right side of the page. The defaults are likely ok.
  3. Click Open.
  4. Accept the terms.
  5. Choose Setup Type: Complete.
  6. Leave the defaults to Install MongoDB as a Service, click Next.
  7. Leave the default checked to install Compass.
  8. Click Install.

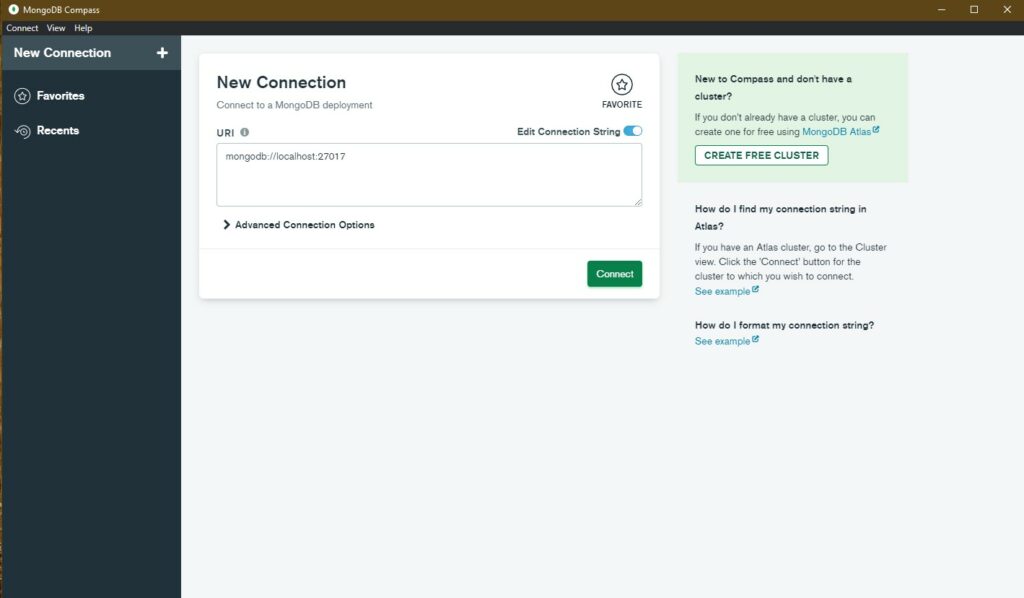
After several minutes, you are good to go. MongoDB is now running, and a MongoDB Compass window should be open.

MongoDB Compass
MongoDB Compass

Adding a Search Icon to your WordPress Menu

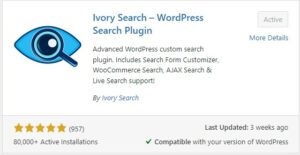
Ivory Search Plugin
Ivory Search Plugin

For a simple way to add a search button to your WordPress menu, use the Ivory Search plugin. It provides all sorts of controls, including the “Sliding” option which I selected.

Here’s a great article on adding search, and the options to do so either through a plugin or custom PHP code.

Easy Changing the Favicon Icon in WordPress

The site favicon can be easily changed in WordPress. The favicon is the site icon shown in the browser tab, bookmarks, etc.

Create a Favicon

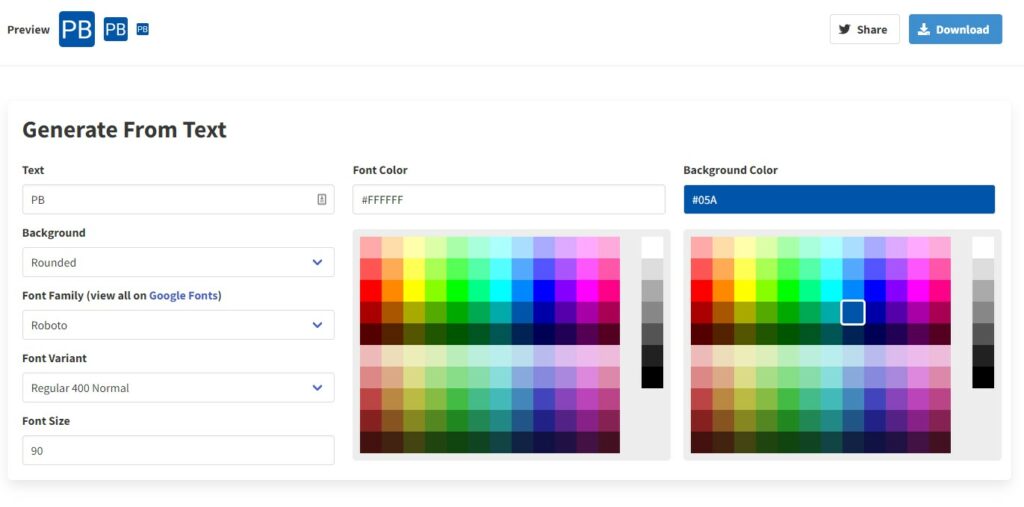
The favicon should be a PNG file, which is a 512 x 512 size for WordPress. You can create this using software such as Photoshop, or if you are looking for something simple, use a Favicon Generator. With favicon.io, which I used, it is very easy.

  1. Go to their website.
  2. Select the Text -> ICO option (the second one… they also do image and emoji).
  3. Type in your text, select font, colors, size, etc. until you get it the way you like.
  1. Download the zip file, extract the zip.
  2. They provide output in a number of sizes, for WordPress the file android-chrome-512×512.png will work well.

Install the Favicon

On my version of WordPress this procedure worked.

  1. Select Dashboard -> Appearance -> Customize -> Site Identity
  2. At the bottom of the menu on the left, there is an option to upload the icon, or change it.
  3. Upload the 512×512 sized icon from above.
  4. Click Publish. Should be all set!

A helpful blog article on this can be found from wordpress.com here, however I did find that the menu location for the upload was different with my site’s theme and version.

WordPress Site Migration Issue with Max Upload Size

I ran into an issue when attempting to migrate a WordPress site from local to a new AWS Lightsail instance using the popular All-in-One WP Migration plugin.

Normally this plugin works great… use it to perform the usual Export and then Upload / Import it onto the new site. This time, not so much.

Continue reading “WordPress Site Migration Issue with Max Upload Size”